


Note that iPhone devices from Mainland China aren’t eSIM compatible. Also iPhone devices from Hong Kong and Macao aren’t compatible (except for iPhone 13 Mini, iPhone 12 Mini, iPhone SE 2020 and iPhone XS)
Why Travel Visas Get Rejected and Why Preparation Matters
Visa officers assess applications based on risk and credibility. Their job is to determine whether an applicant meets the visa requirements and whether they are likely to respect the terms of the visa, such as returning home on time.
Some of the most common reasons travel visas get rejected include incomplete applications, weak financial proof, unclear travel intent, inconsistent information, or failure to meet eligibility criteria. In many cases, applicants are rejected not because they are unqualified, but because they did not present their information clearly or accurately.
Preparation matters because visa decisions are usually made based on documents and short interviews. You often have only one chance to make a strong impression. A well-prepared application reduces doubts, answers questions before they are asked, and shows that you are a responsible and genuine traveller.
1. Submit Complete and Accurate Documents
One of the most common causes of visa rejection is missing, incorrect, or inconsistent documentation. Even a small oversight can raise concerns or lead to delays.
What visa officers expect
Embassies and consulates publish detailed document checklists for each visa category. These lists are not suggestions. They are requirements. Visa officers expect every required document to be submitted in the correct format and within the specified validity period.
Typical documents include a valid passport, application form, photographs, proof of funds, travel itinerary, accommodation details, and supporting letters if applicable.
How to avoid documentation issues
Start by carefully reviewing the official embassy or visa application website. Use only the most recent checklist and forms, as outdated documents can result in rejection. Fill out application forms truthfully and consistently, ensuring names, dates, passport numbers, and travel details match across all documents.
Make copies of everything before submission and double-check translations if documents are not in the required language. Submitting complete and accurate documents signals attention to detail and builds trust with the visa officer reviewing your case.
2. Show Strong Financial Proof and Clear Travel Intent
Visa officers need to be confident that you can afford your trip and that you plan to leave the destination country before your visa expires.
Demonstrating financial stability
Most travel visas require proof that you have sufficient funds to cover your trip. This may include bank statements, salary slips, tax returns, or sponsorship letters. The key is consistency. Large unexplained deposits or incomplete statements can raise red flags.
Provide official bank statements for the required period, usually three to six months. Make sure your balance aligns with your travel duration, accommodation costs, and daily expenses. If someone else is sponsoring your trip, include clear documentation explaining the relationship and financial responsibility.
Proving genuine travel intent
Strong travel intent means showing that your visit is temporary and purposeful. Supporting documents such as employment letters, business registrations, proof of enrollment in school, or evidence of family ties can help demonstrate that you have reasons to return home.
Your travel intent should be logical, realistic, and consistent across your application. Avoid vague explanations or overly ambitious plans that do not match your financial or professional profile.
Stay Connected While Applying
Access embassy emails, uploads, and confirmations without internet issues.
3. Provide a Clear Travel Itinerary and Accommodation Details
A clear and realistic travel plan helps visa officers understand the purpose and structure of your trip.
What makes a strong itinerary
Your itinerary should include planned arrival and departure dates, major cities you plan to visit, and a general outline of activities. You do not need to provide minute-by-minute schedules, but your plan should make sense for the length of your stay.
For example, a ten-day tourist visa with a reasonable number of destinations and rest days appears more credible than an overly packed schedule covering multiple countries without sufficient time.
Accommodation and bookings
Most embassies require proof of accommodation, such as hotel reservations or an invitation letter from a host. These bookings do not always need to be fully paid, but they should be verifiable and aligned with your travel dates.
Avoid submitting fake or speculative bookings. Visa officers are trained to identify inconsistencies. Genuine, well-organised reservations help reinforce your credibility and travel intent.
4. Avoid Common Application Mistakes
Many visa rejections happen due to preventable errors rather than eligibility issues.
Frequent mistakes to watch out for
Some of the most common mistakes include providing false information, submitting outdated forms, ignoring photo specifications, or failing to sign documents. Inconsistencies between application forms and supporting documents are also a major concern.
Another common issue is applying for the wrong visa category. Each visa type has specific requirements and permitted activities. Applying for a tourist visa while intending to attend business meetings or training can result in rejection.
How to reduce errors
Take your time when completing your application. Review everything at least twice before submission. If you are unsure about a requirement, consult official embassy guidance or a licensed visa professional.
Accuracy and honesty are essential. Even minor misrepresentations can lead to long-term consequences, including future visa denials.
5. Be Prepared for Embassy Interviews if Applicable
Some travel visas require an in-person or virtual interview. While not all applicants are interviewed, being prepared is critical if one is scheduled.
What visa officers look for in interviews
Interviews are used to verify the information in your application and assess your credibility. Officers typically ask about your travel purpose, itinerary, finances, employment, and ties to your home country.
Your answers should be clear, concise, and consistent with your documents. Nervousness is normal, but contradictions or vague responses can raise doubts.
Interview preparation tips
Review your application before the interview so you can confidently explain your plans. Bring all required documents in an organised folder, even if they were already submitted online.
Dress professionally, arrive early, and answer questions honestly. The goal is not to impress, but to reassure the officer that your travel plans are genuine and compliant with visa rules.
Smart Travel Preparation Includes Reliable Internet Access
Modern visa applications often rely heavily on digital communication. Embassies send appointment confirmations, document requests, interview instructions, and visa updates by email or online portals. Travellers also need reliable access to booking confirmations, travel insurance documents, and uploaded files.
Having dependable internet access during the application process and while travelling can make a significant difference. It allows you to respond quickly to embassy requests, manage last-minute changes, and access important information without stress.
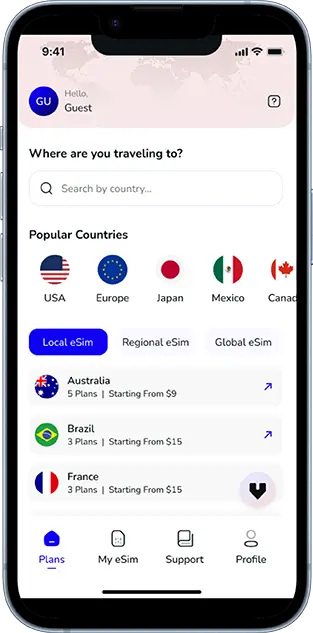
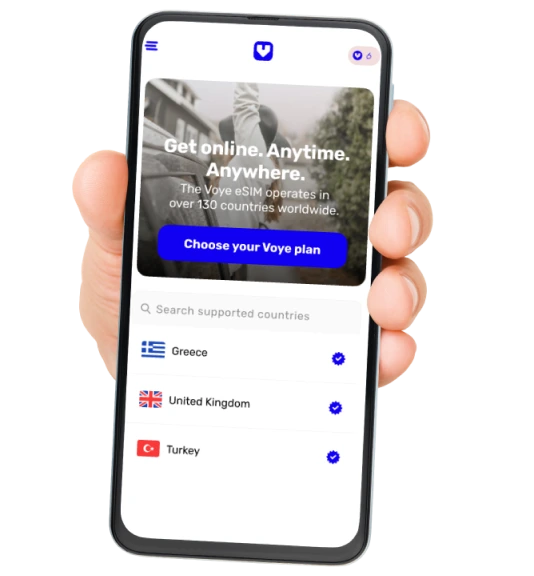
Solutions like Voye Global eSIM can support smart travel preparation by providing mobile data connectivity before departure and immediately upon arrival. For international travellers, staying connected without relying on public Wi-Fi or searching for local SIM cards adds convenience and peace of mind.
Travel Smarter With Data
Get reliable mobile data before departure and upon arrival.
Pre-Submission Travel Visa Checklist
Before submitting your visa application, review this checklist to reduce the risk of errors or omissions:
- Valid passport with sufficient validity and blank pages
- Completed and signed application form
- Correct visa category selected
- Recent passport-sized photographs meeting specifications
- Proof of financial means covering the entire trip
- Clear travel itinerary with realistic dates
- Verified accommodation or invitation letter
- Supporting documents for employment, business, or studies
- Copies of all submitted documents for your records
- Reliable internet access to track application updates and embassy communications
Completing this checklist helps ensure your application is accurate, complete, and ready for review.
Conclusion
Getting a travel visa approved is largely about preparation, clarity, and credibility. By submitting complete and accurate documents, demonstrating strong financial proof and travel intent, providing a clear itinerary, avoiding common mistakes, and preparing for interviews, travellers can significantly improve their chances of success.
Start the process early, follow official guidelines carefully, and keep all information consistent. Just as important, make sure you stay connected throughout the process and your journey. Reliable mobile data allows you to manage applications, access confirmations, and travel with confidence. Thoughtful planning and dependable connectivity, including solutions like Voye Global eSIM, help ensure your travel experience starts smoothly long before you board your flight.

Seamless Mobile Data Everywhere
Voye Global — Your Trusted eSIM Partner for Secure & Reliable Travel.

 English